
When we want to embrace the beauty of the season, we turn to wine poached pears. THIS ISSUE features poached pears, served alongside vanilla bourbon mascarpone whipped cream. The subtle sweetness of this dish is exactly what we need to offset any holiday sugar highs, and nothing looks more striking.


Wine Poached Pears with Bourbon Mascarpone Whipped Cream
Makes about 4 poached pears
When we want to embrace the beauty of the season, we turn to wine poached pears. This recipe features poached pears, served alongside vanilla bourbon mascarpone whipped cream. The subtle sweetness of this dish is exactly what we need to offset any holiday sugar highs, and nothing looks more striking.
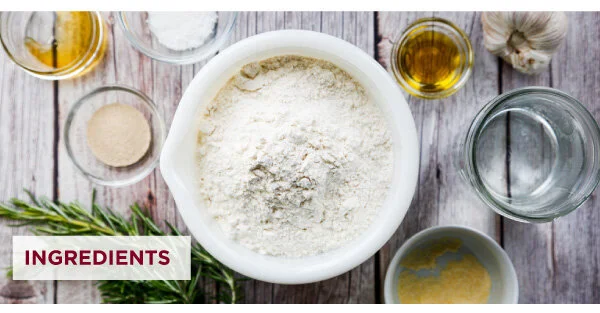
Ingredients:
4 Bosch pears, peeled with stem in-tact
1 bottle of dry red wine (750ml)
1 cup water
1/4 cup sugar
3 sticks of cinnamon
1/4 teaspoon cardamom
1 vanilla bean pod, halved and seeds scraped
Bourbon Mascarpone Whipped Cream Ingredients:
4 oz Mascarpone cheese
1/4 cup powdered sugar
1 cup cold heavy whipping cream
1 tablespoon bourbon
1/2 teaspoon vanilla extract
Directions:
1. Peel the pears, carefully leaving the stems in place.
2. Combine the red wine, water, sugar, cinnamon, cardamom, and vanilla bean seeds in a sauce pan and bring to a simmer. Stir until the sugar dissolves. Add the peeled pears making sure they are covered in the liquid. Simmer for about 40 minutes, or until the pears are tender and red, then chill the pears. Cook the wine mixture down into a sauce by simmering for an additional 45 minutes - 1 hour, or until your desired sauce consistency is reached.
3. Attach a chilled mixing bowl to a stand mixer with a whisk attachment. Add the mascarpone cheese and sugar and mix together on high until fully combined, about 3 minutes. Add the cream, bourbon, and vanilla extract, and mix ingredients together, starting on low speed, then increasing to a high speed, whipping until soft peaks form, roughly 8 minutes.
4. Serve immediately alongside the chilled pears, drizzle with the reduced wine sauce, and sprinkle with cinnamon.