
This week we are channeling our inner child with French toast sticks! The extra surface area achieved when preparing French toast sticks brings twice the flavor while enrobing wonderfully custardy insides. Their handy shape means they are destined for easy dipping, serving, and sharing with the whole family. Good Morning!


Cinnamon-Sugar French Toast Sticks
Serves 4
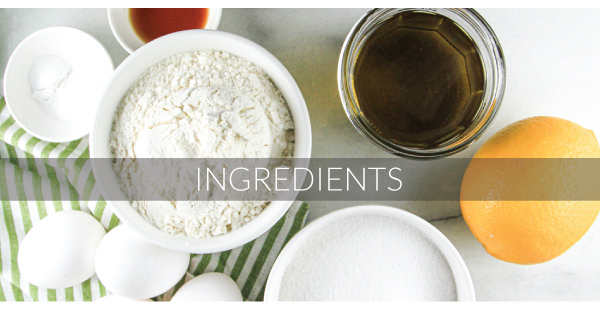
Ingredients:
1 large loaf bread (such as a brioche or Italian loaf that’s 3-4 days old)
3 eggs
3/4 cup heavy cream
1 teaspoon vanilla
1/4 teaspoon salt
1/2 teaspoon allspice
1/2 cup white sugar
1 tablespoon cinnamon
4 tablespoons salted butter, divided
For Serving:
Pure Maple syrup
Seasonal berries
Directions:
1. Trim the crust off of the bread and slice it into equally-sized strips, roughly 1" thick.
2. In a medium bowl, whisk together the eggs, cream, vanilla, salt, and allspice. Pour the mixture in a shallow bowl. In a small bowl, mix together the sugar and cinnamon. Spread the mixture out on a medium-sized plate.
3. Melt 2 tablespoons butter in a medium-large skillet.
4. Separate the bread sticks into two even batches. Starting with the first batch, dredge the bread sticks one at a time in the egg mixture by rolling them for a few seconds to evenly coat the bread all the way around. Shake off any excess egg mixture.
5. Place a few of the sticks of bread into the skillet, spacing them evenly, with about 1" in between (this spacing will make them easy to grab and turn). Cook the French toast sticks over medium-low heat using tongs to turn. Cook evenly until all sides are golden brown (roughly 1-2 minutes on each side).
6. Immediately remove the sticks from the pan and coat with the cinnamon and sugar while the French toast sticks are still hot, repeating until all of the sticks from the first batch are coated.
7. Melt the remaining 2 tablespoons of butter and repeat Steps 4-6 with the remaining sticks.
8. Once all the French toast sticks have been cooked and coated, serve immediately with warm maple syrup and fresh seasonal berries.