
In this classic dish, thinly sliced potatoes are layered with a distinctive Mornay sauce. Mornay sauce is a Béchamel sauce with the addition of Gruyère cheese. The additions of savory leeks, garlic, and rosemary combine in a wonderful way in the sauce to infuse flavor into every bite. This recipe is a warm, comforting side dish, or hearty enough for the main event!


Classic Potato & Leek Gratin
Serves 6 - 8
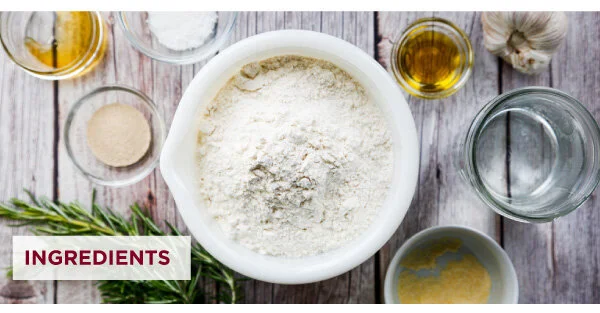
Ingredients:
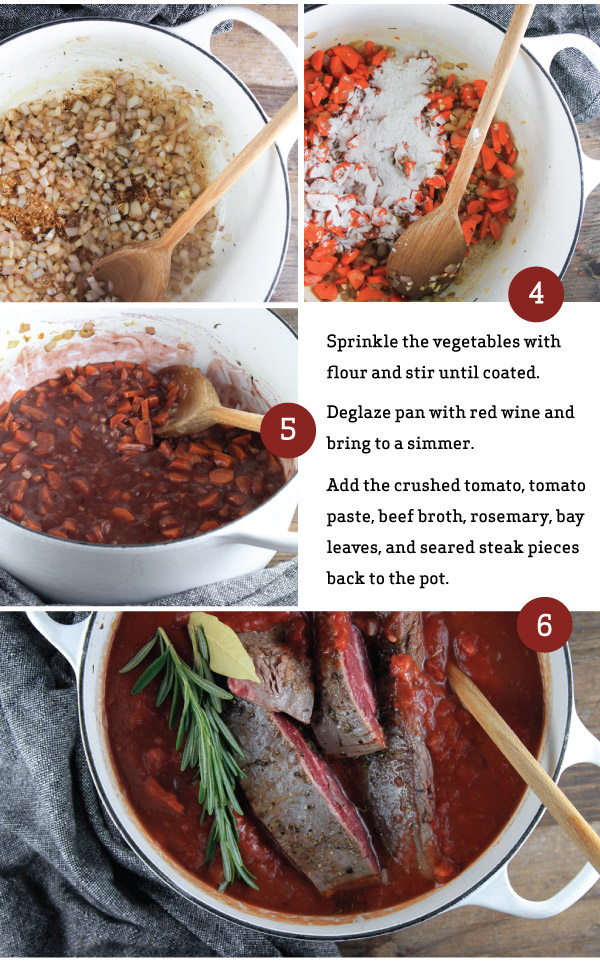
2 lbs Idaho potatoes (about 7-8 potatoes), washed, peeled, and thinly sliced with a mandoline
5 tablespoons butter, divided
3 small leeks, green parts removed, finely sliced
1 tablespoon rosemary, minced
4 cloves garlic, minced
1/4 cup all-purpose flour
3 cups whole milk
2 teaspoons kosher salt
1/4 teaspoon black pepper
1-1/2 cup grated Gruyère, plus
2 tablespoons reserved as topping
Directions:
1. Preheat the oven to 400°F.
2. Prep the potatoes. Use a sharp peeler to peel the potatoes. Rinse off , and then slice into 1/8” slices using a handheld mandoline.
3. In a large saucepan, melt 1 tablespoon butter and cook the leeks over medium heat until they are translucent, about 10 minutes. Add the rosemary and garlic and cook for about another 3 minutes.
4. Prepare the roux. In a separate, small saucepan, heat the remaining 4 tablespoons of butter. Once the butter has melted, whisk in the flour until the mixture is completely smooth. Continue cooking for about 1-2 minutes. This process removes the raw flour flavor and helps create a silky sauce.
5. Create a Béchamel sauce by very slowly pouring milk into the roux, continue whisking the mixture until the sauce is smooth. Add in the salt and pepper and continue whisking over medium-low heat for 3-5 minutes until the sauce thickens and becomes very creamy.
6. Transform the sauce into a Mornay sauce by slowly adding in the Gruyère cheese. Continue cooking and whisking for a few more minutes until the sauce is smooth, and the cheese is well incorporated. Add the cooked leeks mixture to the sauce.
7. Layer the gratin. Butter the bottom and sides of a large baking dish and lay a single layer of potatoes. Pour some of the sauce over the potatoes and continue to layer the potatoes, pouring more sauce at each layer. Repeat this step until all of the potatoes are used (or you get to within 1/2” from the top of your dish).
8. Coat the final layer of potatoes with sauce and sprinkle with the reserved cheese.
9. Cover the gratin with a tight fitting lid or foil and bake for 60 minutes. Remove the lid or foil, and continue to bake for another 10 minutes, or until the top turns golden brown.
10. Garnish with additional fresh pieces of rosemary, and serve hot.